Inkjet printers that go through a period of time of not being used, the ink will try on the printhead and will require a cleaning to have the printer calibrate to its original settings.
During the printing process, paper, ink, and dust particles can accumulate inside the product. Over time, this buildup can cause print-quality problems such as specks or smearing. This product automatically services itself, running cleaning routines that can correct most of these problems. For problems that the product cannot automatically solve, use the following routine to clean the printhead.
NOTE: This routine uses ink to clean the printhead. Use the routine only to correct print quality errors. Do not use it for periodic maintenance.
TIP: Turning the product on properly by pressing the power button on the front of the product helps keep the printhead from clogging and creating print-quality problems.
1. Open the control panel dashboard (swipe the dashboard tab at the top of any screen downward, or touch the dashboard area on the home screen).
2. On the control panel dashboard, touch the gear button as shown below..png)
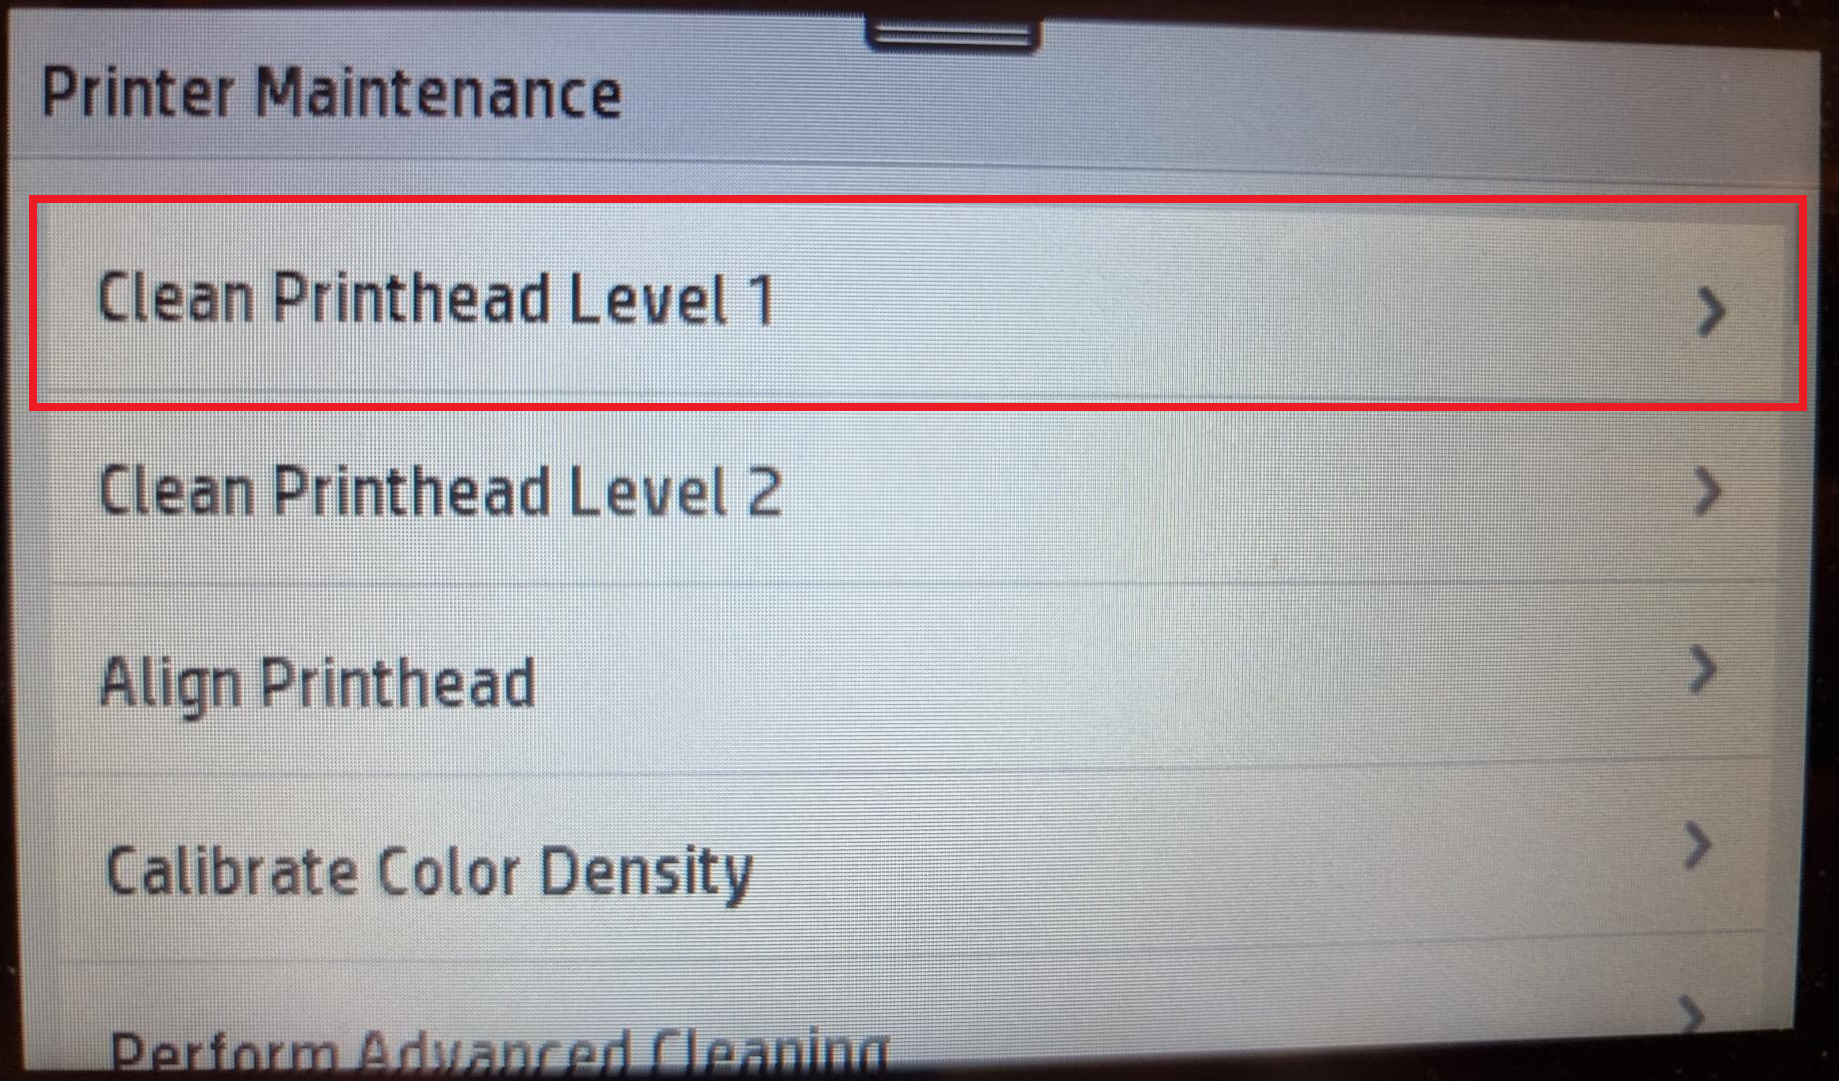
3. Touch Printer Maintenance to view the list of cleaning and alignment routines.
.png)
4. Touch Clean Printhead Level 1, and then follow the prompts on the control panel. If necessary, load paper in the requested tray.

.png)
A page feeds through the product slowly. Discard the page when the process is completed.
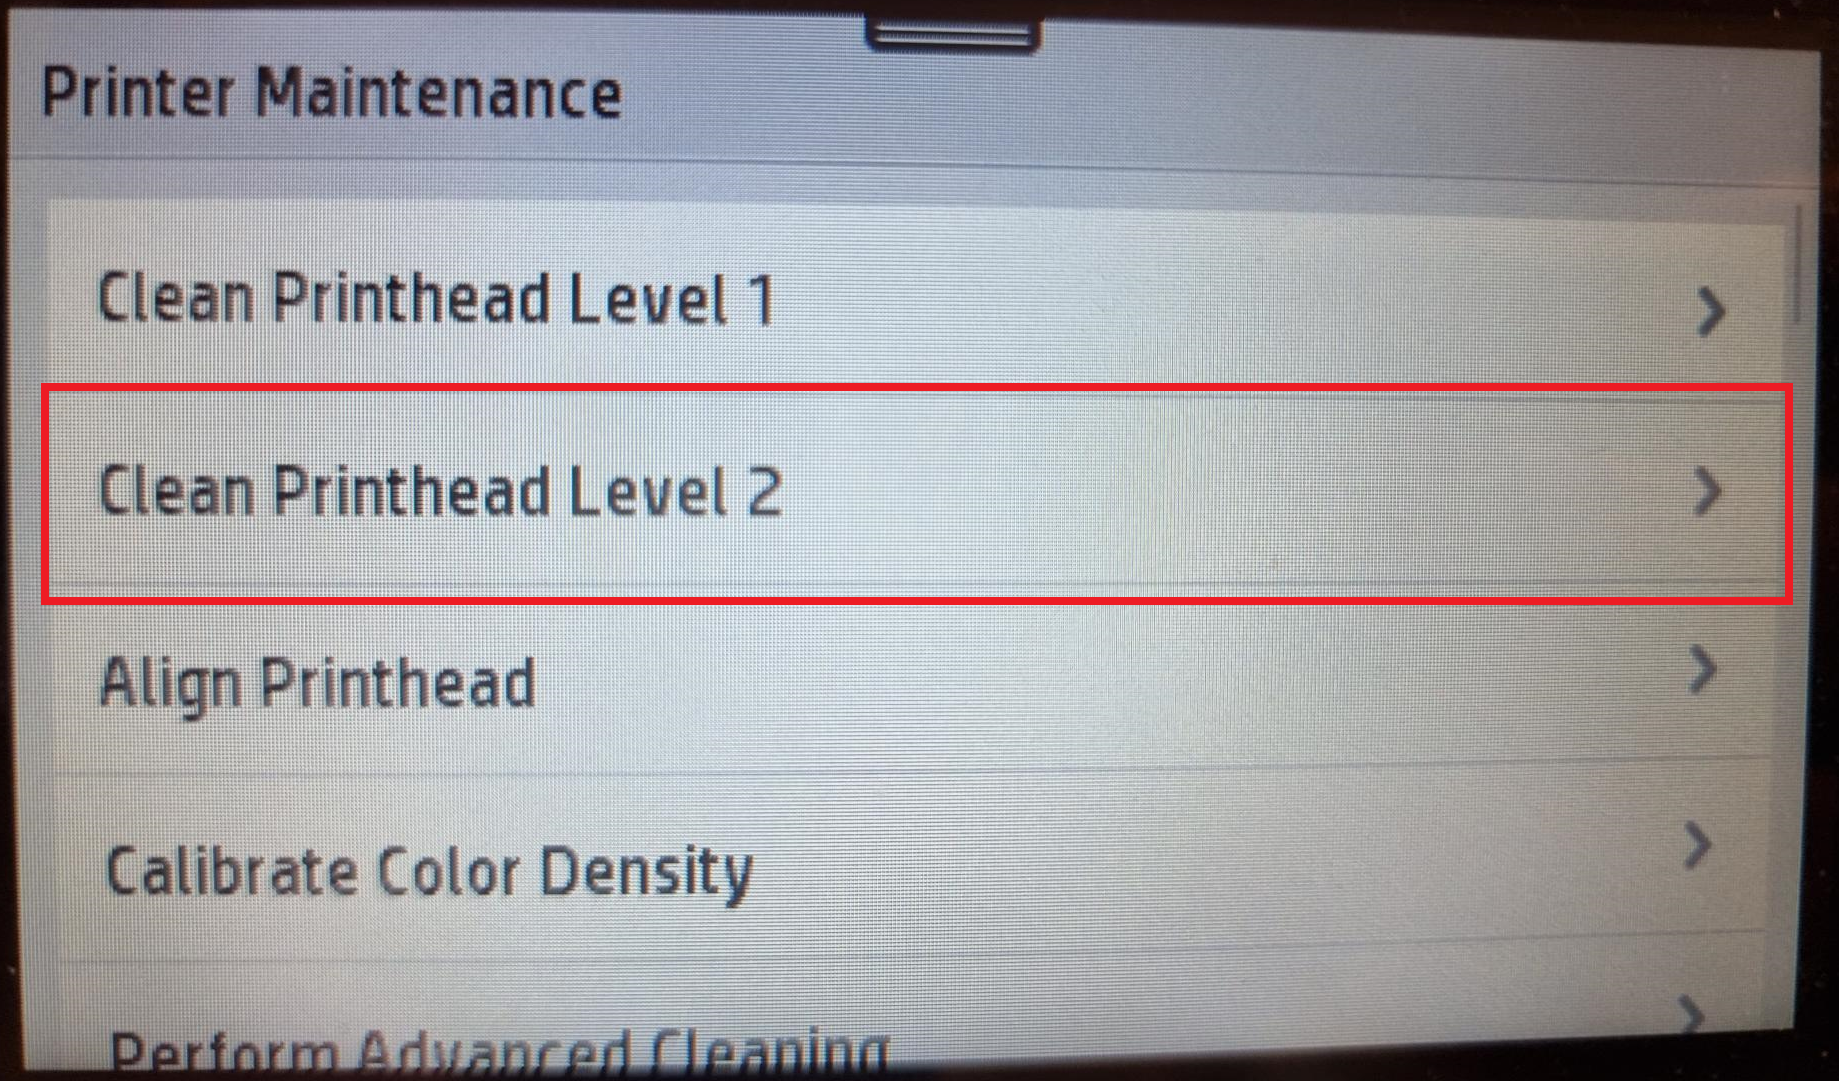
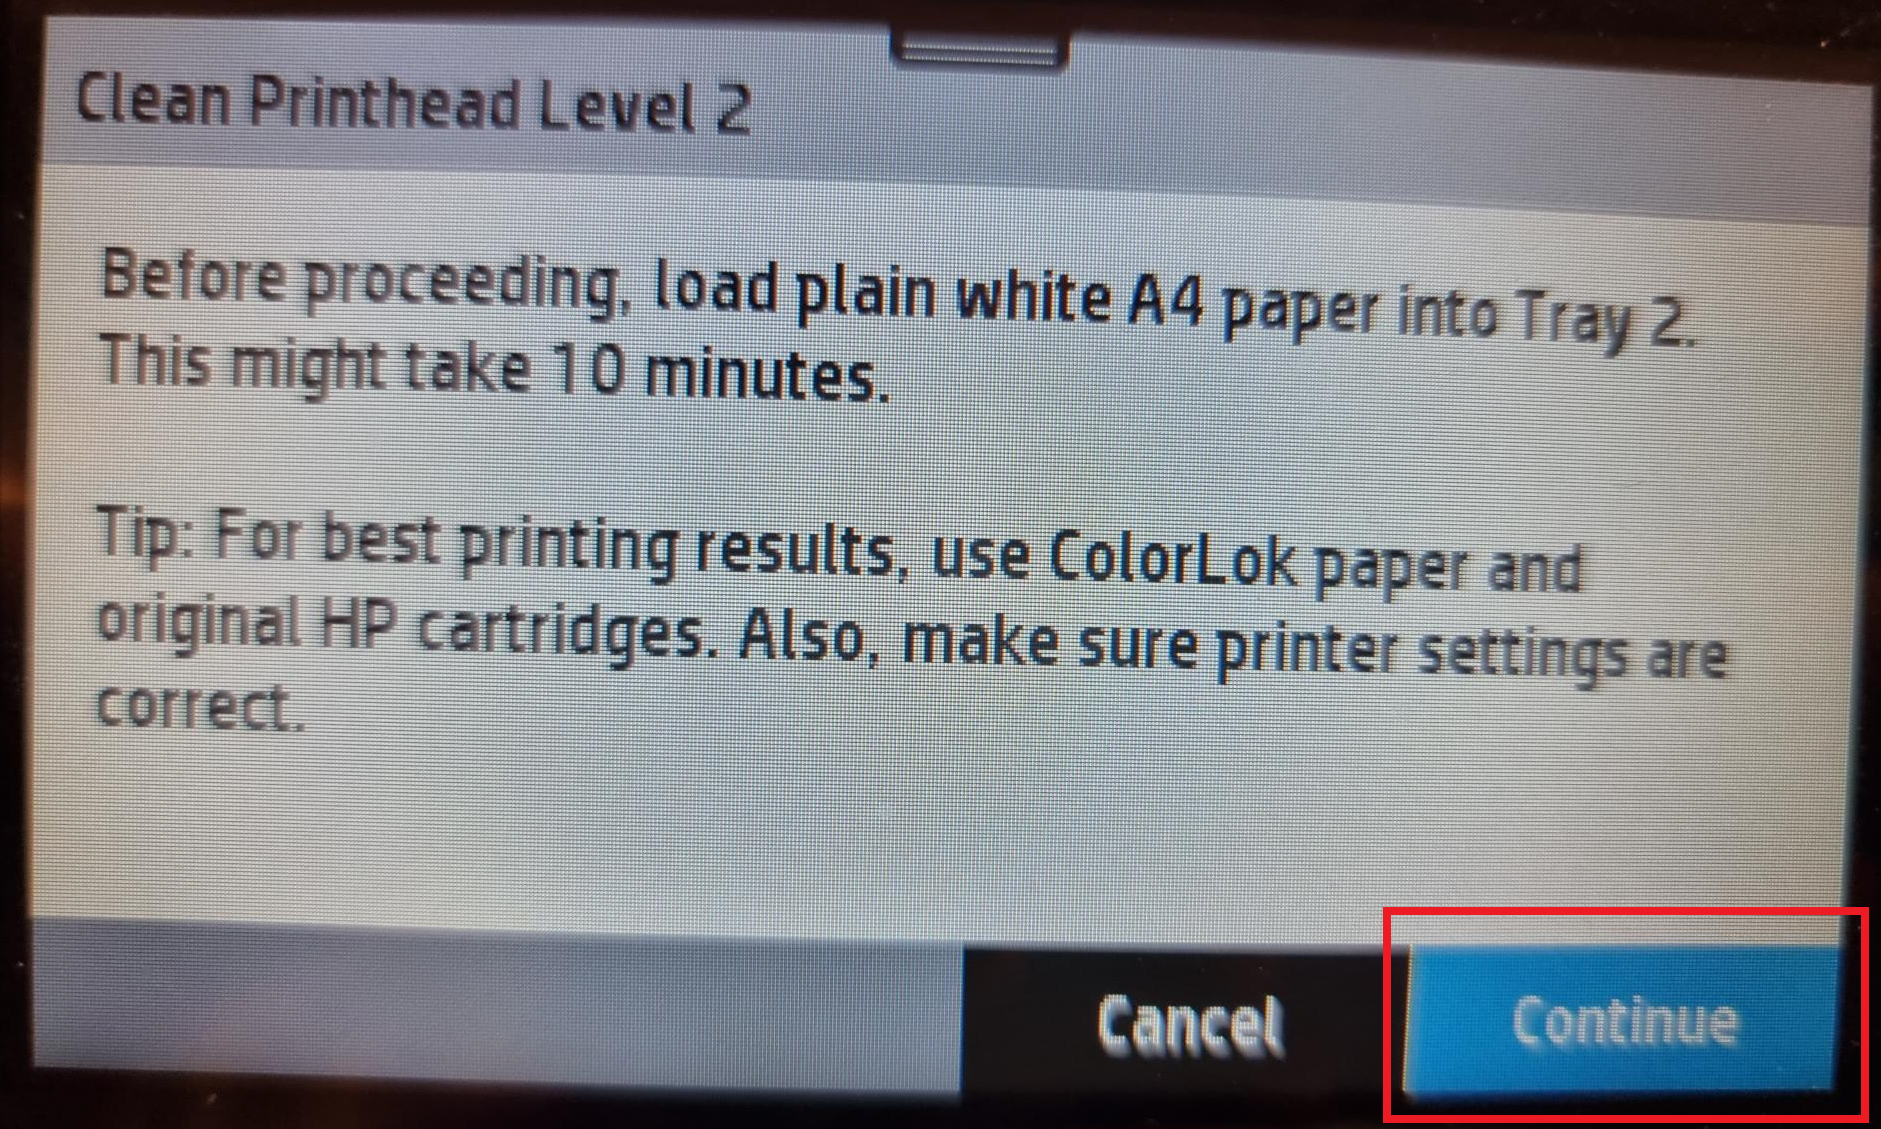
5. If the printhead is still not clean, touch Clean Printhead Level 2, and follow the prompts on the control panel. If that does not work, continue with the next cleaning routine. Continue down the list of cleaning routines, if needed.


A page feeds through the product slowly. Discard the page when the process is completed.
After completing the entire process of cleaning the Printhead, please attempt to print and if your prints are still not up to standard of its original quality, please use the button below to contact our friendly support team for further assistance or to log a service call.